The Magic of Carrot Cake Bliss Balls: A Sweet & Nutty Recipe
Whipping up these delightful carrot cake bliss balls can turn an ordinary afternoon into a sweet, energizing moment.
Small bursts of flavor capture the essence of classic dessert comfort.
Nuts, dried fruits, and spices dance together in this no-bake treat that feels like a mini celebration.
Each bite delivers a delectable punch of wholesome ingredients without complicated preparation steps.
Rolled oats and shredded carrots provide natural sweetness and texture that surprise your taste buds.
Minimal kitchen skills work perfectly for crafting these delicious energy bites.
Snack time just got way more exciting – you’ll want to make a double batch!
Carrot Cake Balls That Are Naturally Sweet and Easy
Carrot Cake Bliss Balls Ingredient Details
Main Ingredients:Sweetener and Binder:Texture Ingredients:Carrot Cake Bliss Ball Instructions for Quick Bites
Step 1: Pulse the Base
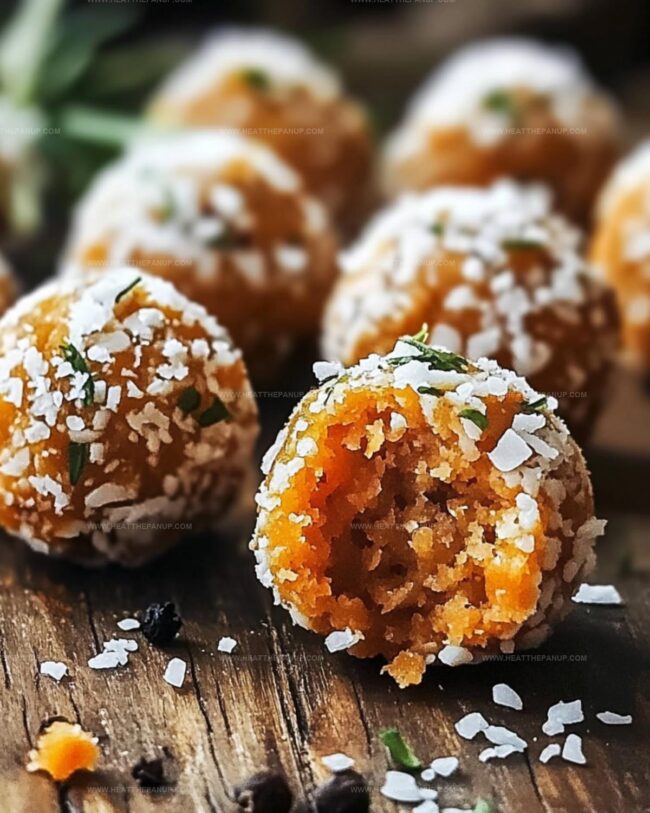
Add grated carrots, oats, shredded coconut, walnuts, and dates into a food processor.
Pulse the ingredients until they break down into a rough, chunky mixture.
The goal is to create a texture that will hold together when pressed.
Step 2: Blend Flavor Enhancers
Pour in maple syrup, vanilla extract, cinnamon, nutmeg, salt, and almond butter.
Blend everything until the mixture transforms into a sticky, cohesive dough.
If the mixture feels too dry, incorporate a bit more almond butter or splash of water to help bind the ingredients.
Step 3: Form Delightful Spheres
Use your hands or a small scoop to portion out the mixture.
Gently roll each portion between your palms, creating smooth, bite-sized balls.
Aim for consistent sizing to ensure even chilling and texture.
Step 4: Create Coconut Coating
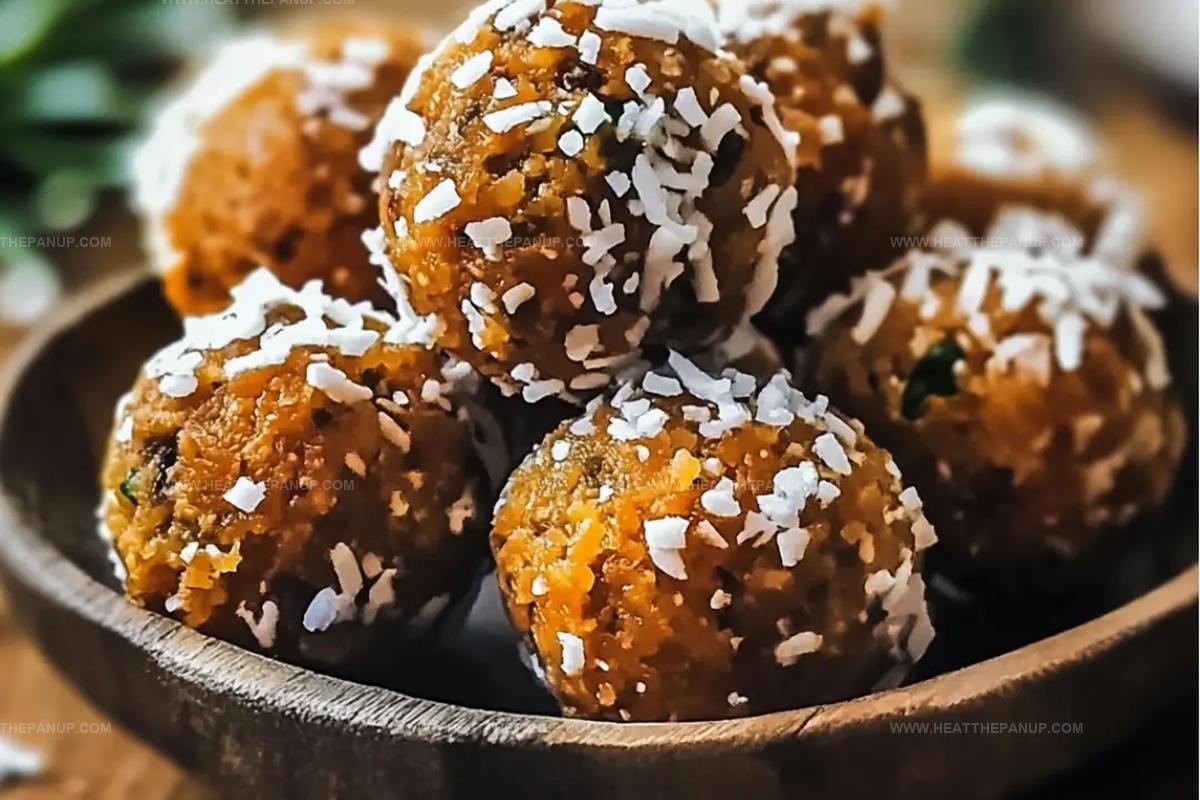
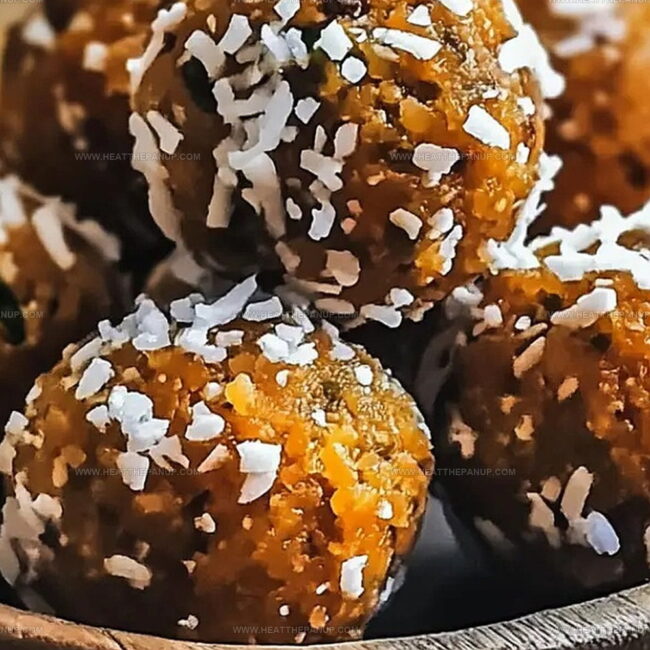
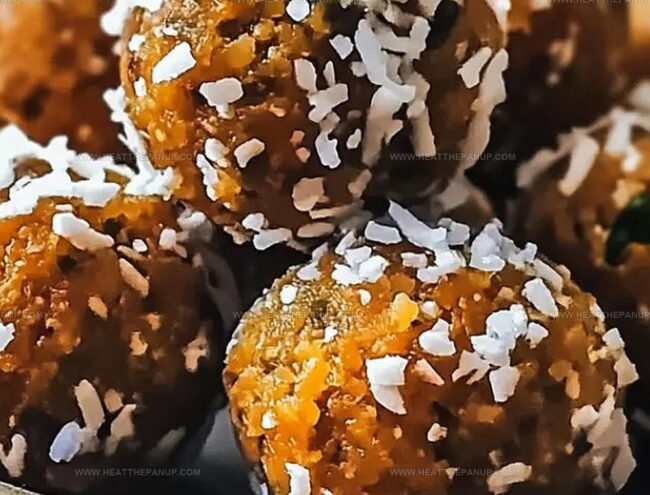
Roll each bliss ball in additional shredded coconut, ensuring a complete and even coverage.
This step adds a delightful texture and visual appeal reminiscent of traditional carrot cake.
Step 5: Chill and Enjoy
Transfer the coated bliss balls onto a tray or plate.
Refrigerate for at least 30 minutes to help them firm up and enhance their flavor.
Serve chilled and savor the delicious, guilt-free treat.
Bliss Ball Tips for Carrot Cake Flavor Without the Bake
Chill Carrot Cake Bliss Balls
Carrot Cake Bliss Balls Matches
Cookie Dough Balls with Chocolate Chip Ideas
FAQs
Yes, they’re packed with nutritious ingredients like carrots, oats, nuts, and dates, providing fiber, protein, and natural sweetness without refined sugar.
You can substitute almond butter with sunflower seed butter and replace walnuts with seeds like pumpkin or sunflower seeds to make them nut-free.
When stored in an airtight container in the refrigerator, they’ll stay fresh for up to 7-10 days, maintaining their delicious flavor and texture.
Absolutely! They freeze wonderfully for up to 3 months. Just place them in a freezer-safe container, separating layers with parchment paper.
Print
Carrot Cake Bliss Balls Recipe
- Total Time: 15 minutes
- Yield: 12 1x
Description
Sweet, nutty carrot cake bliss balls combine wholesome ingredients into irresistible energy bites. Packed with natural goodness, these no-bake treats deliver delightful flavors you’ll savor with every delectable bite.
Ingredients
Main Ingredients:
- 1 cup grated carrots
- 1 cup rolled oats
- 1/2 cup walnuts or pecans, chopped
- 1/2 cup Medjool dates, pitted
Binding and Sweetening Ingredients:
- 2 tablespoons maple syrup or honey
- 2 tablespoons almond butter or cashew butter
Spices and Seasoning:
- 1/2 cup unsweetened shredded coconut
- 1 teaspoon vanilla extract
- 1 teaspoon cinnamon
- 1/4 teaspoon nutmeg
- 1/4 teaspoon salt
Instructions
- Combine grated carrots, oats, coconut, walnuts, and dates in a food processor, pulsing until ingredients break down into a coarse mixture.
- Incorporate maple syrup, vanilla extract, cinnamon, nutmeg, salt, and almond butter into the processor, blending until the mixture transforms into a cohesive, sticky dough.
- Adjust the consistency if needed by adding small amounts of almond butter or water to ensure proper binding.
- Using clean hands, carefully portion the mixture and gently roll into uniform, bite-sized spheres.
- Create a separate plate of shredded coconut for coating each bliss ball, rolling them delicately to ensure complete and even coverage.
- Transfer the coconut-crusted bliss balls onto a chilled tray, carefully arranging them to prevent sticking.
- Refrigerate the prepared bliss balls for a minimum of 30 minutes, allowing them to solidify and enhance their texture and flavor profile.
- Once chilled, serve immediately or store in an airtight container in the refrigerator for up to one week, maintaining their fresh and delightful taste.
Notes
- Swap nuts carefully if allergic, choosing sunflower or pumpkin seeds for similar crunch and nutrition without compromising texture.
- Adjust sweetness by using dates or maple syrup strategically, reducing quantity for lower sugar content while maintaining delicious flavor profile.
- Ensure ingredients are room temperature for smoother blending and easier ball formation, preventing dry or crumbly consistency.
- Store bliss balls in airtight container within refrigerator for up to one week, allowing convenient healthy snacking anytime hunger strikes.
- Prep Time: 15 minutes
- Cook Time: 0 minutes
- Category: Snacks, Desserts
- Method: Blending
- Cuisine: American
Nutrition
- Serving Size: 12
- Calories: 153
- Sugar: 6 g
- Sodium: 30 mg
- Fat: 7 g
- Saturated Fat: 1 g
- Unsaturated Fat: 5 g
- Trans Fat: 0 g
- Carbohydrates: 21 g
- Fiber: 3 g
- Protein: 3 g
- Cholesterol: 0 mg
Angelina Wiles
Content Editor & Culinary Enthusiast
Expertise
Food Writing and Editing, Vegetarian and Vegan Cuisine, Baking and Pastry Arts, Sustainable Cooking Practices
Education
Portland Community College
Certificate in Culinary Arts
Focus: Emphasis on sustainable cooking practices, vegetarian cuisine, and food writing.
Oregon Culinary Institute
Diploma in Baking and Pastry Arts
Focus: Specialized training in artisanal baking, pastry techniques, and dessert presentation.
Angelina’s love for cooking started with handwritten family recipes and weekend trips to farmers’ markets around Portland. She followed her passion with a Certificate in Culinary Arts from Portland Community College, then perfected her sweet side with a Diploma in Baking and Pastry Arts at Oregon Culinary Institute.
Angelina believes recipes should feel like a conversation, not a science project. She’s all about helping readers trust themselves in the kitchen with simple steps, fresh ideas, and easy twists on classic meals.
When she’s not editing recipes, she’s baking bread, sipping coffee, or getting inspired by the changing seasons.