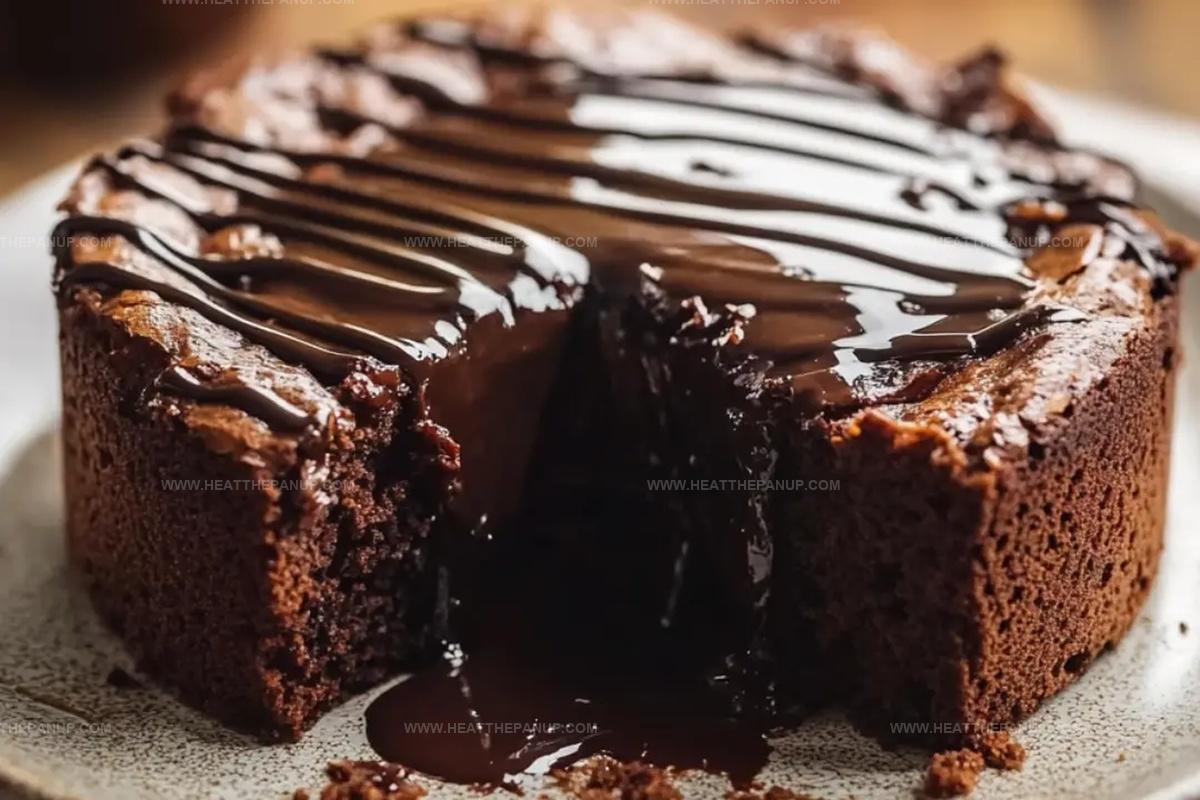
Irresistibly Fudgy Brownie Cake Recipe for Chocolate Lovers
Chocolate lovers adore this decadent brownie cake that melts hearts with every rich, fudgy bite.
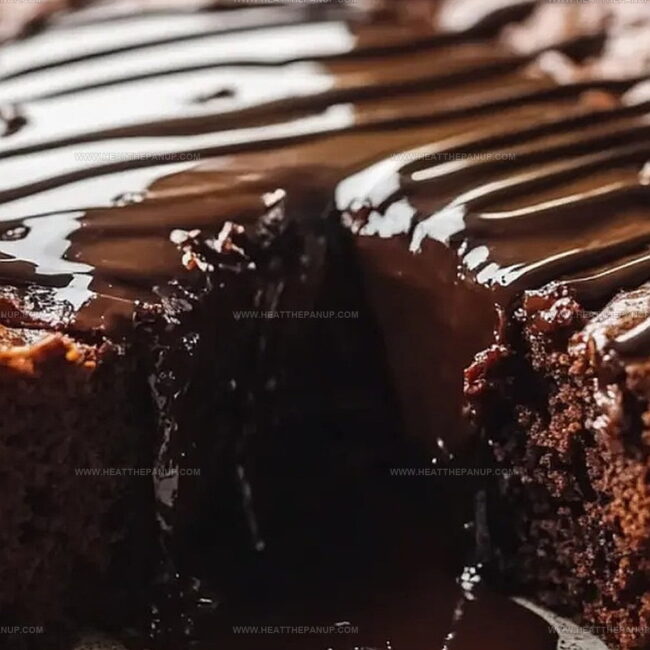
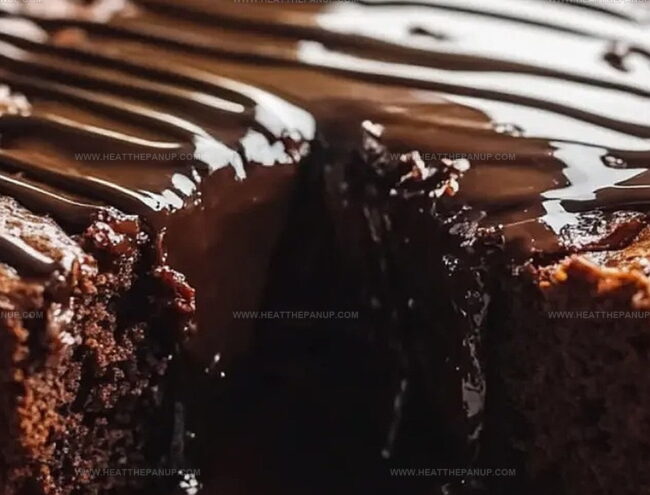
Layers of intense cocoa depth promise an unforgettable dessert experience.
Soft, moist textures invite you to savor each delightful crumb.
Professional bakers and home cooks alike celebrate this elegant twist on classic brownies.
Simple ingredients create magic in your kitchen.
Weekend celebrations or quiet moments deserve something special like this indulgent treat.
Slice into pure bliss and let chocolate dreams come alive.
Brownie Cake That’s Rich, Fudgy, and Always a Hit
Brownie Cake What Goes In
Brownie Base:Frosting and Topping:Baking Essentials:Brownie Cake Assembly Instructions

Step 1: Fire Up The Oven
Crank your oven to the temperature specified on the brownie mix box.
Grab your 9×13 inch baking pan and give it a quick spray with non-stick cooking spray to ensure easy removal later.
Step 2: Mix And Pour
Empty the brownie mix into a large mixing bowl.
Follow the package instructions, typically adding water, oil, and eggs.
Whisk everything together until the batter looks smooth and glossy.
Pour the batter evenly into the prepared pan, using a spatula to spread it out perfectly.
Step 3: Bake To Perfection
Slide the pan into the preheated oven and bake according to the box instructions.
Keep an eye on the timer to ensure you don’t overcook.
The brownies are done when a toothpick inserted in the center comes out with just a few moist crumbs.
Step 4: Cool Down
Remove the pan from the oven and let the brownies sit at room temperature.
Allow them to cool completely in the pan – this helps them set and makes frosting easier.
Patience is key here!
Step 5: Frost And Decorate
Open a container of chocolate frosting and spread it generously across the cooled brownies.
Use an offset spatula or the back of a spoon to create smooth, even layers.
Step 6: Add Finishing Touches
Sprinkle on your favorite toppings:Step 7: Slice And Serve
Cut the brownies into squares using a sharp knife.
Serve on dessert plates and watch everyone’s eyes light up with delight!
Brownie Cake Tips for Dense, Fudgy Bites Every Time
Store Brownie Cake Properly
Brownie Cake Complements
Brownie Cake with Fudgy Layer Ideas
FAQs
Yes, absolutely! A homemade brownie batter works perfectly. Just ensure it’s the right consistency and bakes well in a 9×13 inch pan.
Use an offset spatula or the back of a spoon to spread the frosting evenly. Warm the spatula slightly with hot water for an ultra-smooth finish.
Semi-sweet or dark chocolate provides the richest flavor. Milk chocolate can be used for a sweeter result. Ensure chocolate is high-quality for best taste.
Yes, you can bake the brownies and frost them a day in advance. Store covered in the refrigerator. Add fresh garnishes just before serving for the best presentation.
Print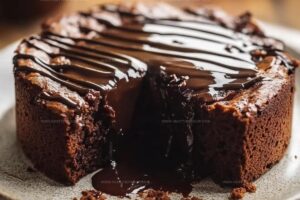
Brownie Cake Recipe
- Total Time: 50 minutes
- Yield: 12 1x
Description
Delightful chocolate Brownie Cake brings indulgent layers of rich, fudgy goodness to dessert lovers’ dreams. Moist chocolate crumb and silky frosting create an irresistible sweet experience you’ll want to savor again and again.
Ingredients
Main Ingredients:
- 1 box brownie mix
- 2 cups (473 milliliters) chocolate frosting
Garnish Options:
- Chocolate shavings
- Fresh raspberries
- Sprinkles
Preparation Ingredients:
- Additional ingredients for brownie mix (as specified on the box packaging)
Instructions
- Meticulously empty the brownie mix into a mixing bowl, carefully following the precise measurements and instructions printed on the packaging.
- Thoroughly grease a rectangular baking pan, ensuring complete coverage to prevent potential sticking.
- Blend the brownie mixture using an electric mixer or wooden spoon until the batter achieves a smooth, consistent texture without any dry powder clumps.
- Pour the silky chocolate batter into the prepared pan, spreading it evenly with a spatula to create a uniform layer.
- Position the pan in a preheated oven, allowing the brownies to bake until a toothpick inserted near the center comes out with minimal, moist crumbs.
- Remove the pan from the oven and allow the brownies to rest at room temperature, enabling them to set and cool completely.
- While the brownies are cooling, prepare the chocolate frosting by whipping it into a light, spreadable consistency.
- Once the brownies have reached ambient temperature, generously apply a smooth, even layer of chocolate frosting across the entire surface.
- Enhance the presentation by delicately sprinkling chocolate shavings over the frosted top.
- For an optional burst of color and flavor, scatter fresh raspberries or colorful sprinkles across the frosted brownies.
- Slice the decorated brownies into precise squares and serve immediately for maximum enjoyment.
Notes
- Use high-quality chocolate frosting for a richer, more decadent flavor profile.
- Ensure brownies are completely cool before frosting to prevent melting and sliding.
- For a gluten-free version, select a gluten-free brownie mix and verify all additional ingredients are also gluten-free.
- Create texture variation by adding chopped nuts like almonds or walnuts on top for a delightful crunch.
- Prep Time: 15 minutes
- Cook Time: 35 minutes
- Category: Desserts
- Method: Baking
- Cuisine: American
Nutrition
- Serving Size: 12
- Calories: 300
- Sugar: 30 g
- Sodium: 200 mg
- Fat: 15 g
- Saturated Fat: 5 g
- Unsaturated Fat: 10 g
- Trans Fat: 0 g
- Carbohydrates: 40 g
- Fiber: 2 g
- Protein: 3 g
- Cholesterol: 20 mg
Angelina Wiles
Content Editor & Culinary Enthusiast
Expertise
Food Writing and Editing, Vegetarian and Vegan Cuisine, Baking and Pastry Arts, Sustainable Cooking Practices
Education
Portland Community College
Certificate in Culinary Arts
Focus: Emphasis on sustainable cooking practices, vegetarian cuisine, and food writing.
Oregon Culinary Institute
Diploma in Baking and Pastry Arts
Focus: Specialized training in artisanal baking, pastry techniques, and dessert presentation.
Angelina’s love for cooking started with handwritten family recipes and weekend trips to farmers’ markets around Portland. She followed her passion with a Certificate in Culinary Arts from Portland Community College, then perfected her sweet side with a Diploma in Baking and Pastry Arts at Oregon Culinary Institute.
Angelina believes recipes should feel like a conversation, not a science project. She’s all about helping readers trust themselves in the kitchen with simple steps, fresh ideas, and easy twists on classic meals.
When she’s not editing recipes, she’s baking bread, sipping coffee, or getting inspired by the changing seasons.